How to join yarn using a surgeon’s knot (step-by-step guide)
How to join yarn using a surgeon’s knot Joining yarn neatly is one of those small skills that can make a big difference to your finished work. The surgeon’s knot is a simple technique that adds extra grip compared to a basic knot, making it useful when you need a quick and secure join. It’s […]

This post may contain ads and affiliate links, which help support Crafting with Beth at no extra cost to you. I only recommend tools and materials I genuinely use or believe will be helpful for your crafting. For more information, please see our Privacy Policy, Cookie Policy, and Affiliate Disclosure. Thank you.
How to join yarn using a surgeon’s knot
Joining yarn neatly is one of those small skills that can make a big difference to your finished work. The surgeon’s knot is a simple technique that adds extra grip compared to a basic knot, making it useful when you need a quick and secure join.
It’s not a locking knot, so it’s best used with a little care—but when done properly, it can hold well and keep your stitches flowing without interruption.
When to use a surgeon’s knot
This method works well when you want a fast join without threading a needle. It’s especially useful for:
- Joining yarn mid-project
- Working under slight tension
- Projects where a small knot can be hidden within stitches
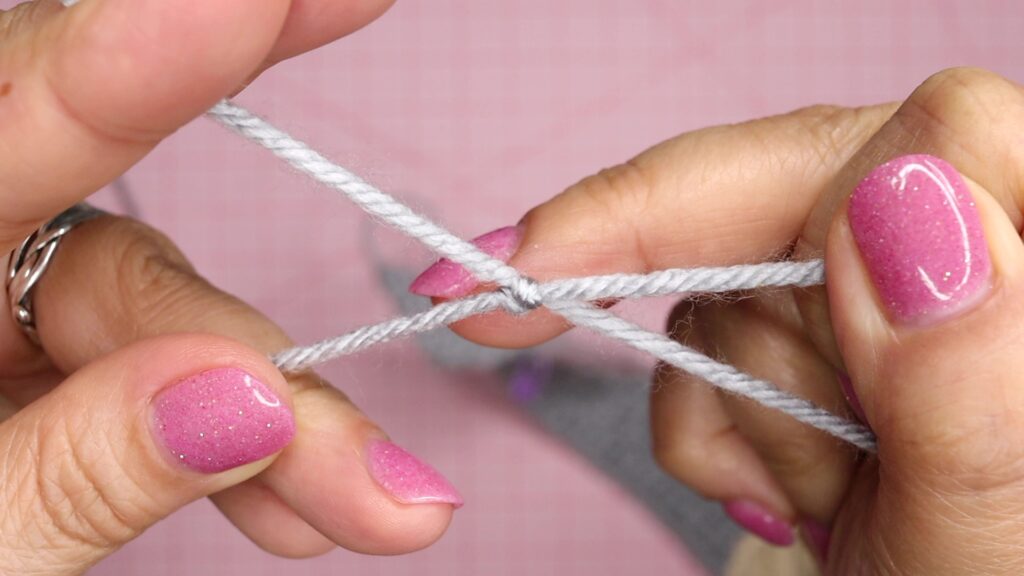
Step-by-step guide to tying a surgeon’s knot
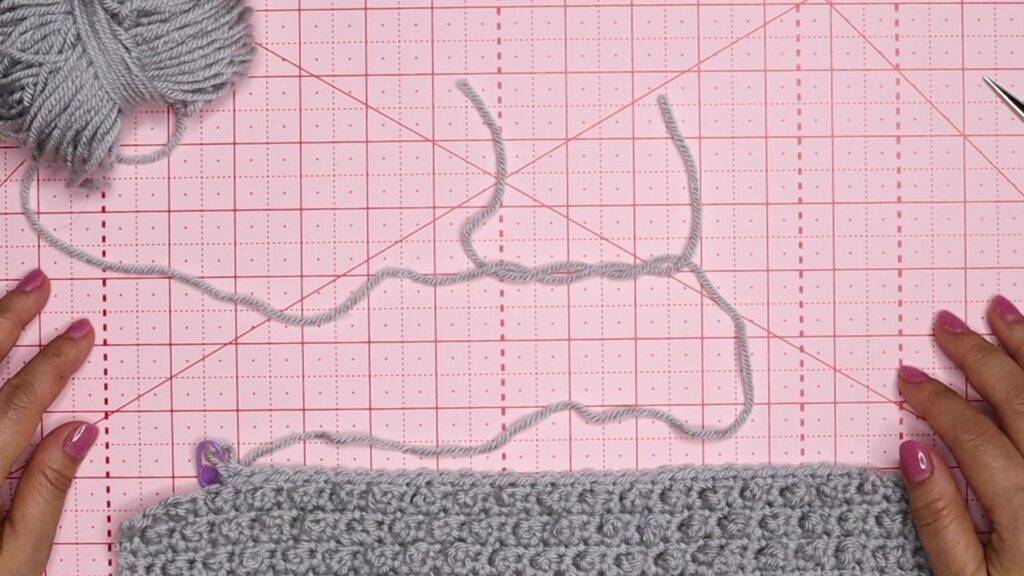
Step 1: Place your working yarn end (Yarn A) and new yarn end (Yarn B) parallel with each other with Yarn A pointing to the left, and Yarn B pointing to the right
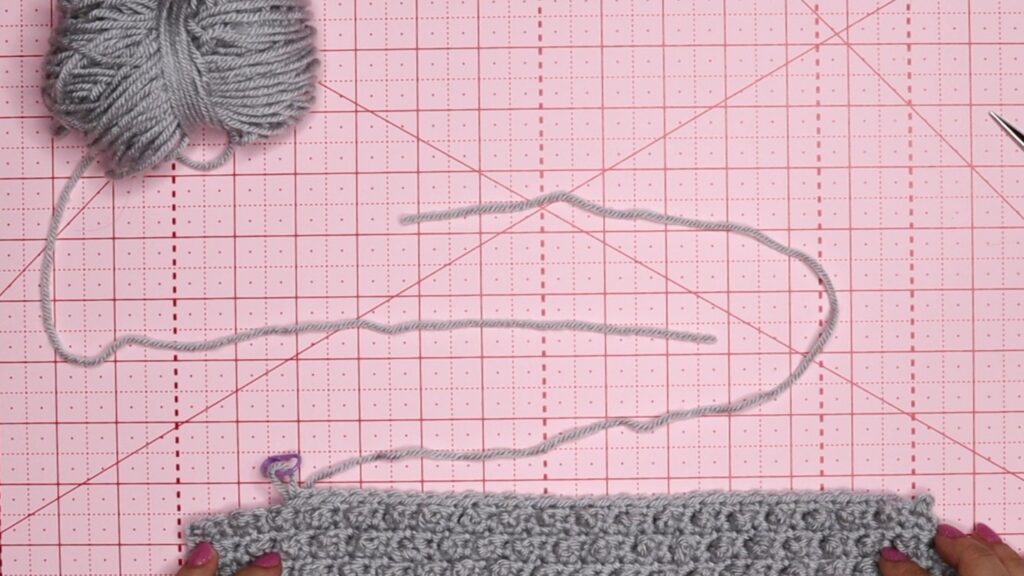
Step 2: Place Yarn B over Yarn A
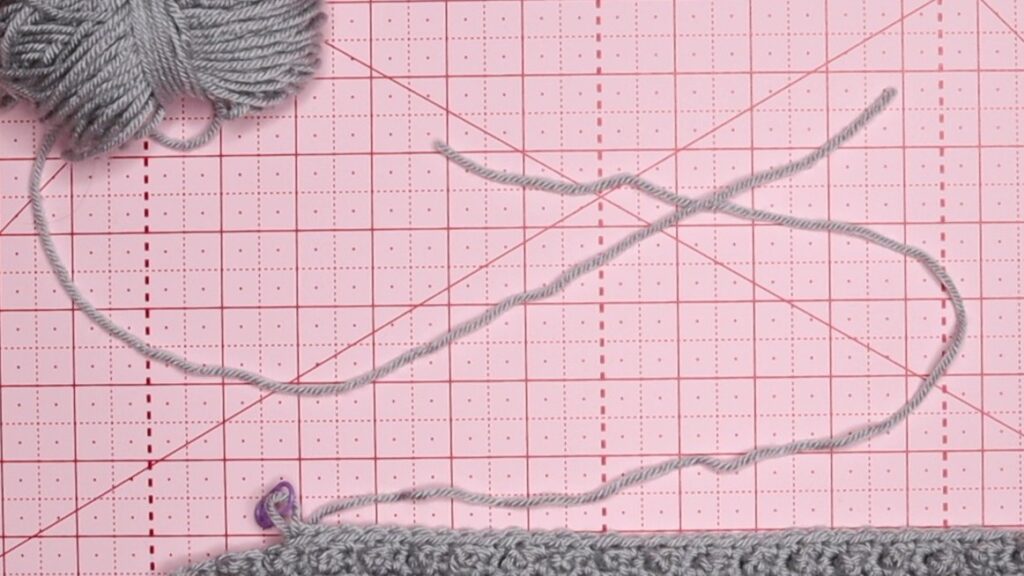
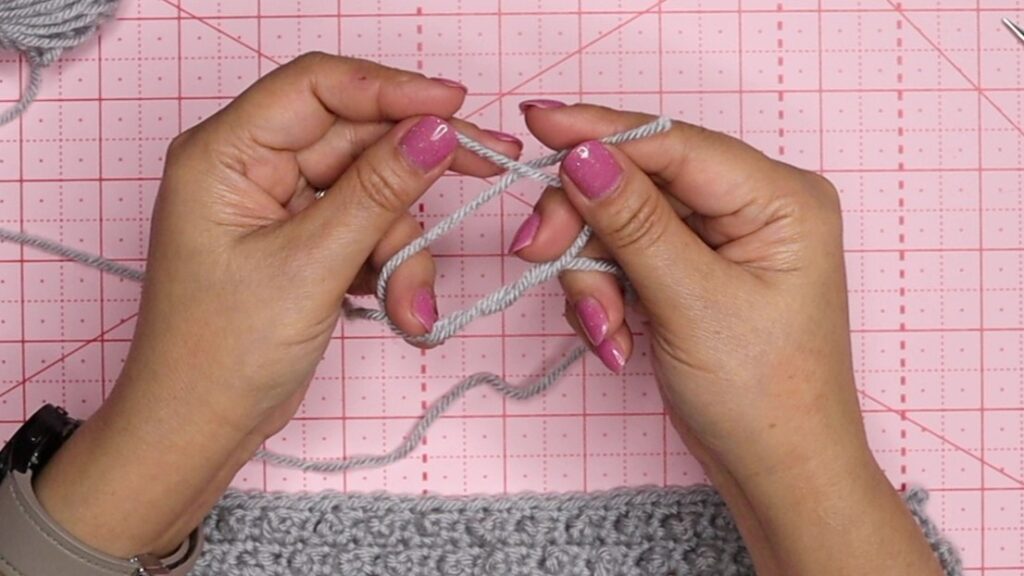
Step 3: Wrap Yarn B under Yarn A, and over again making Yarn B pointing back up. This creates 2 loops.
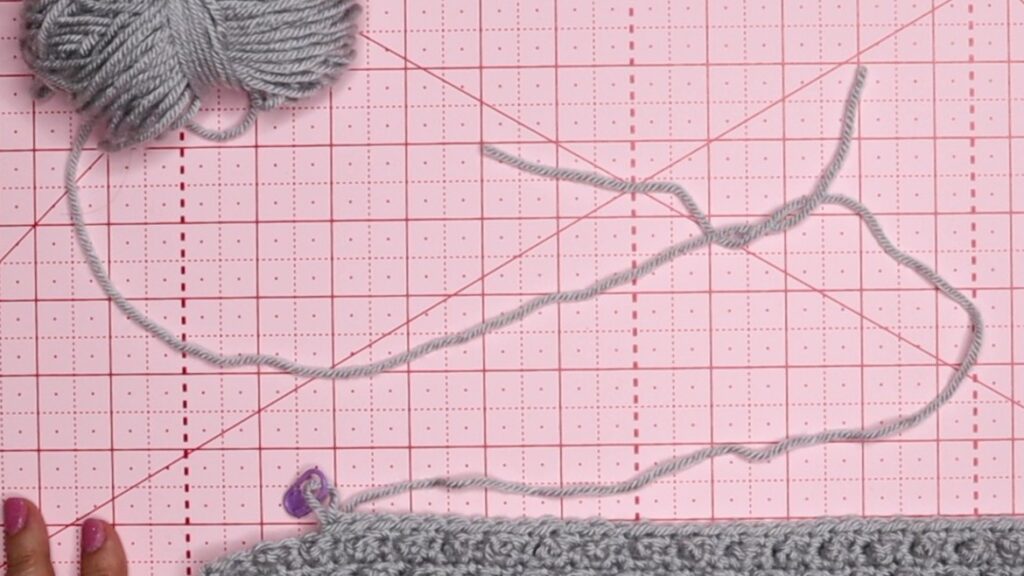
Step 4: Now with Yarn A, place it over Yarn B, wrap it under, making Yarn A also pointing up. This creates another 2 loops
Now we have a total of 4 loops
Step 5: Grab the 2 yarn ends and place Yarn B over Yarn A
Step 6: Make a closing loop. This will give the upper loops a total of 2 loops. As you can see, these are the loops of a surgeon’s not, the bottom has 4 loops, and the top has 2 loops. This what makes it different from a standard square knot. the bottom loops gives the knot an extra protection fromn unravelling
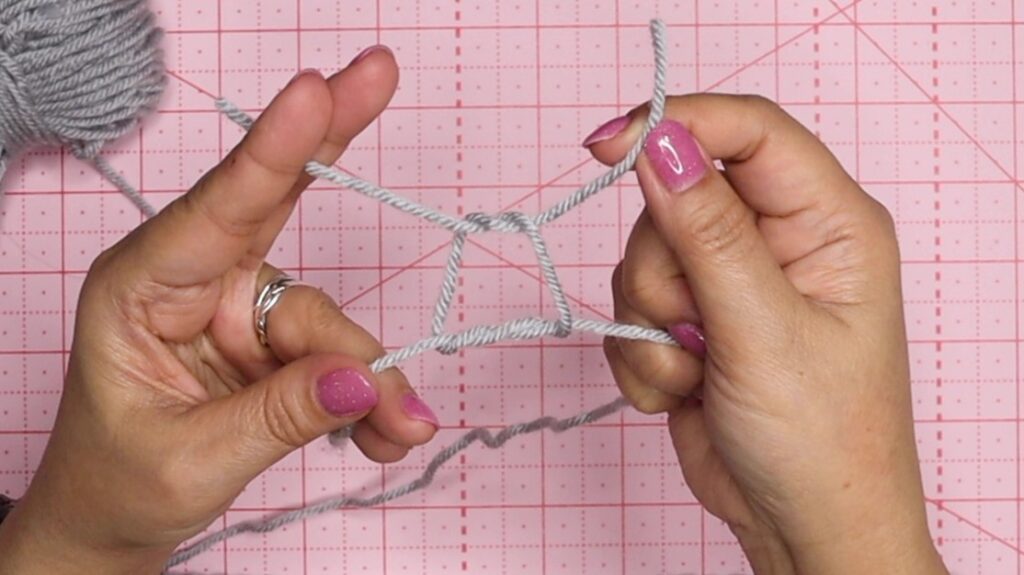
Step 7: Pull the loops to tighten up, and pull the strength at the main yarn, making sure the knots join are forming at smallest bulk, nice and tidy
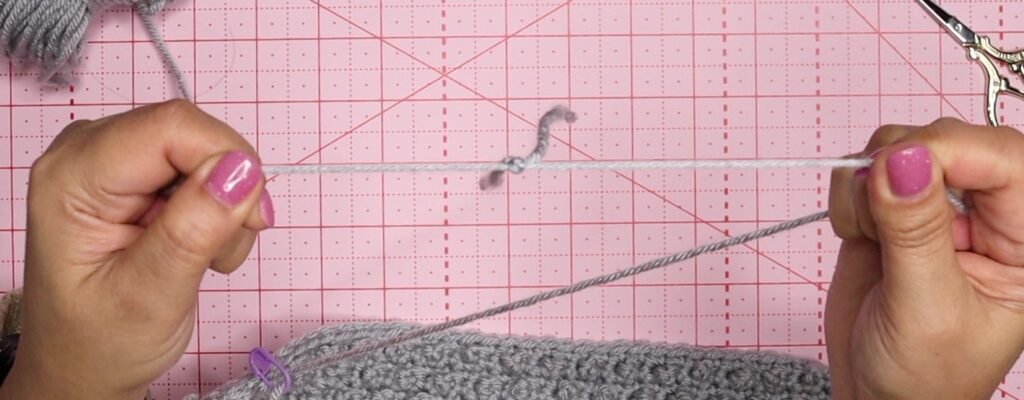
You should feel the knot grip slightly as it tightens. This extra wrap is what gives the surgeon’s knot its added friction.
How much yarn to leave for a secure join
Unlike some other joining methods, it’s important not to trim the ends too close. Leave a small tail—around 3 to 5 mm—to allow for movement over time.
Yarn fibres can relax with wear and washing, so this small allowance helps keep the knot secure in the long term.
A note on durability and long-term use
The surgeon’s knot provides a stronger grip than a basic knot, but it is not designed to lock permanently. For high-stress areas or long-lasting garments, you may prefer a method such as a Russian join.
As with many techniques in crochet and knitting, the best choice often depends on your yarn, your project, and how the piece will be used.
Final thoughts
Small techniques like this help your work move forward with ease. The surgeon’s knot is simple, practical, and useful to have in your toolkit—especially when you want to keep your stitches flowing without pause.
Take a moment to test it with your yarn, and see how it behaves. Every fibre is a little different, and understanding that is part of the craft.
© Crafting with Beth.
This pattern describes a common crochet technique. While crochet stitches and methods are not copyrightable, the written instructions, photographs, and explanations on this page are original and protected by copyright.
Made with care and shared with love. You may sell finished items made from this pattern, but please do not copy, reproduce, or redistribute the written instructions. Please credit Crafting with Beth when sharing your work.